Azure AD
To be able to authenticate with Power BI a token is required. The token is delivered by Azure AD and to get it crm-powerbi-viewer must be registered as a valid application.
Steps
- Go to the old Azure portal at https://manage.windowsazure.com (this is the old portal as AAD is currently not available in the new).
-
Navigate to your Active Directory.

-
Open the Azure Active Directory where you want to place your application and navigate to the application tab

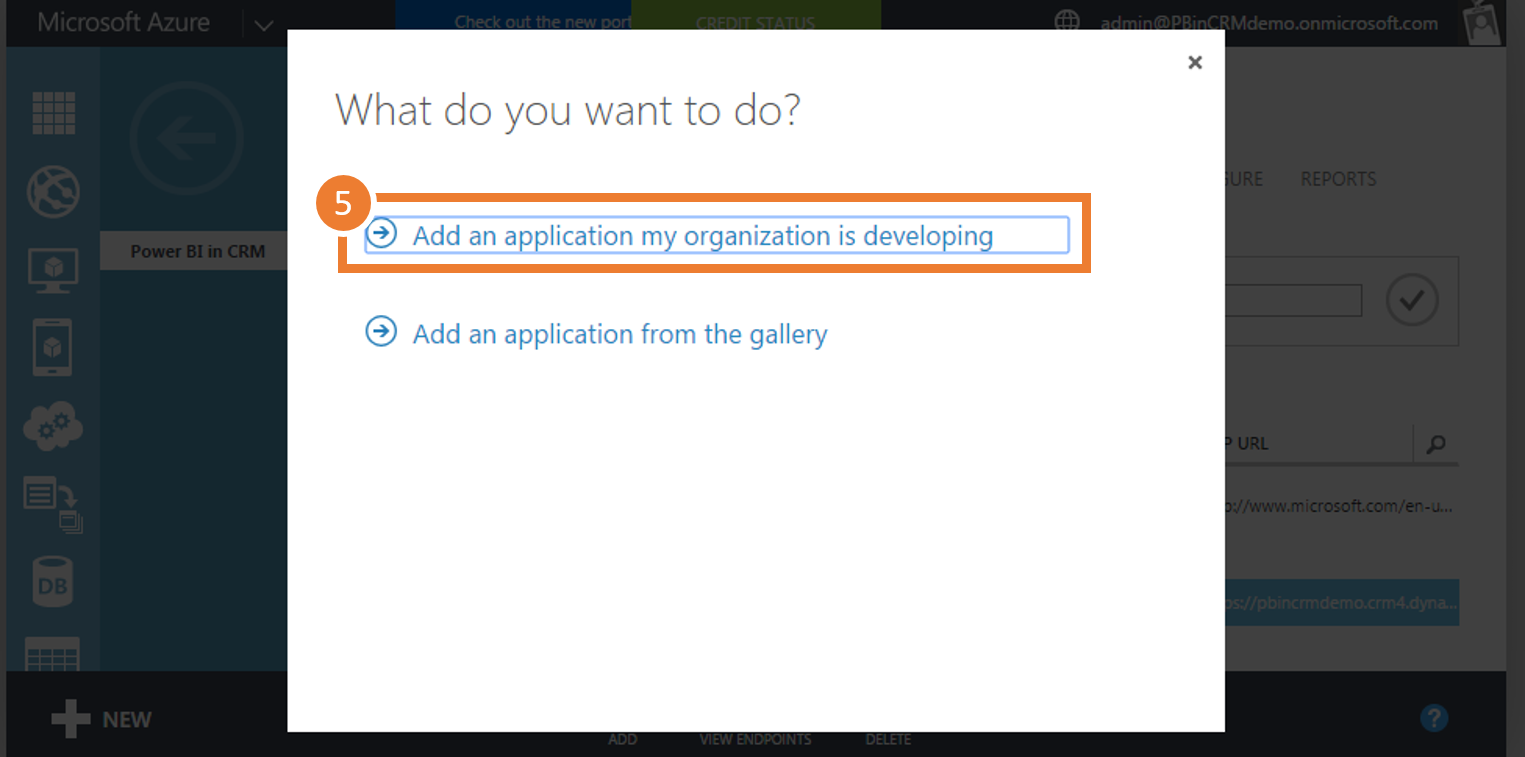
- Click ADD at the bottom of the page to add a new application
-
Choose “Add an application my organization is developing”
-
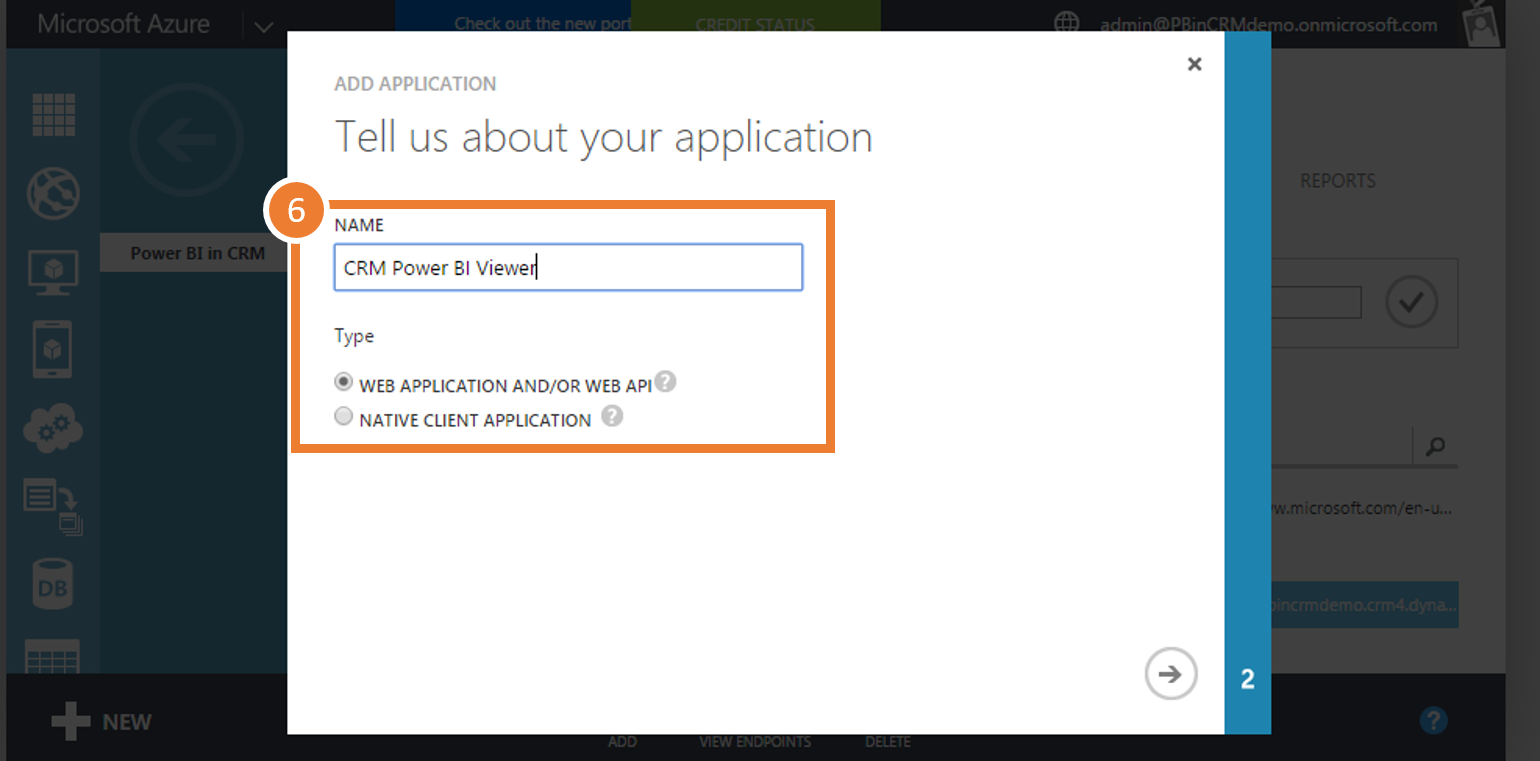
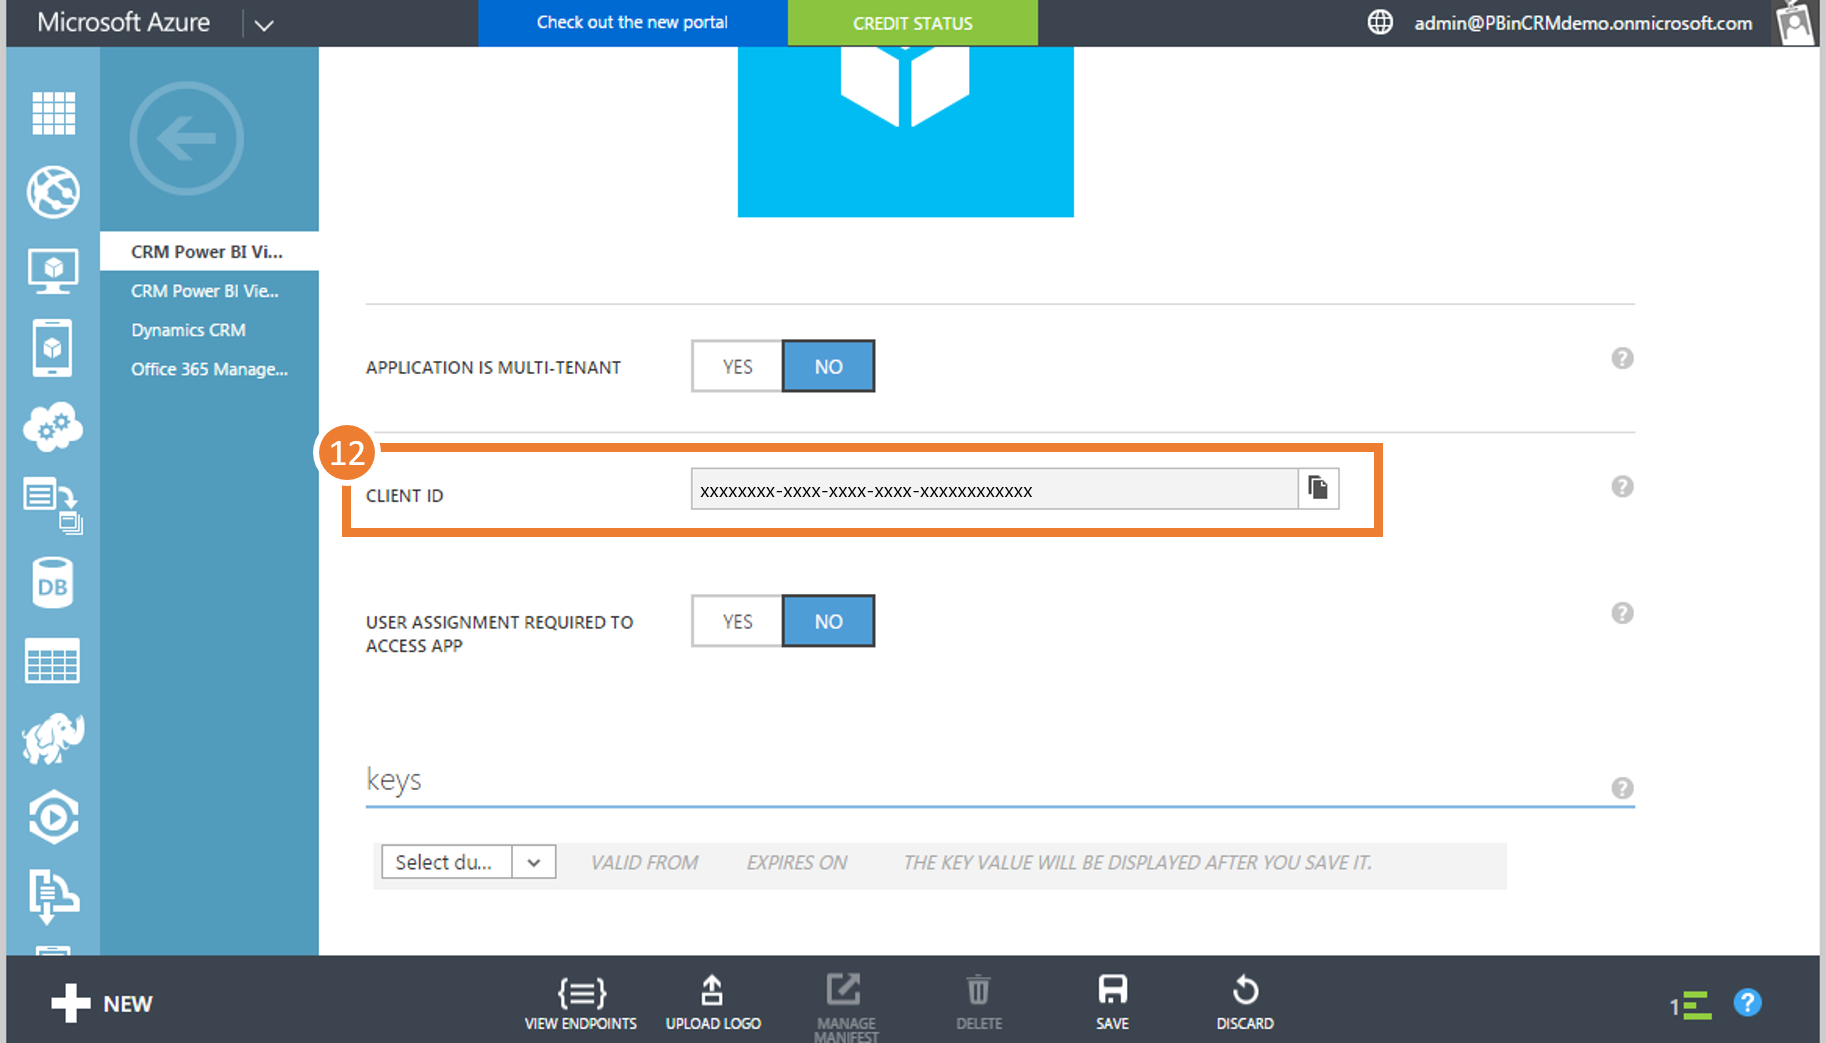
Name the application “CRM Power BI Viewer” and set the type to “WEB APPLICATION” then go to the next page (click the arrow).
-
Set sign-on url to the URL of your Dynamics CRM instance
https://yourinstancename.crm?.dynamics.com
Set app id uri to something unique such as
https://yourorg.onmicrosoft.com/CrmPowerBiViewer
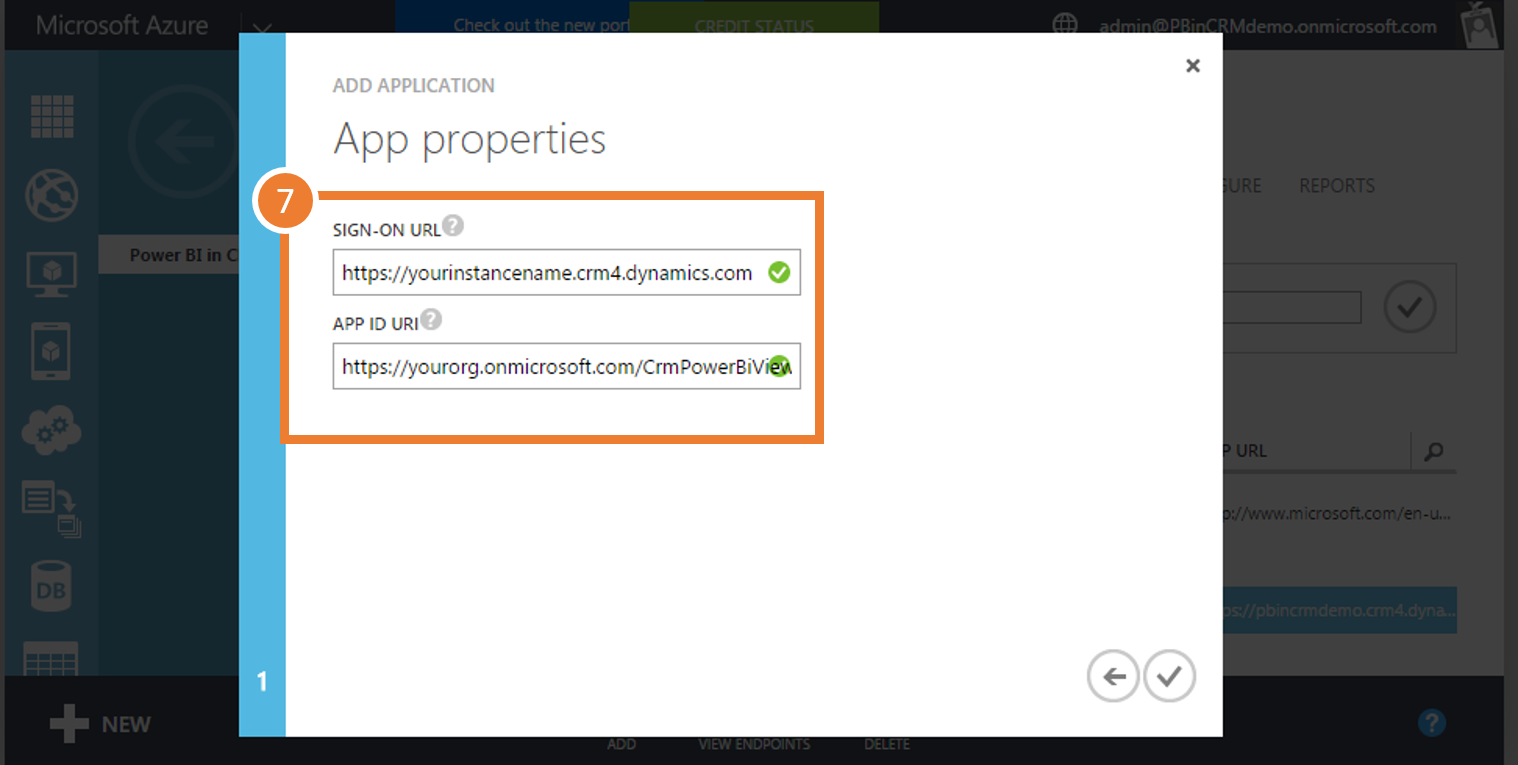
Complete the wizard (click the check mark).
-
The following step is not available from the user interface so you need to download the manifest and open it in a text editor. Change the following from false to true, save and upload the file.
“oauth2AllowImplicitFlow”: true,

-
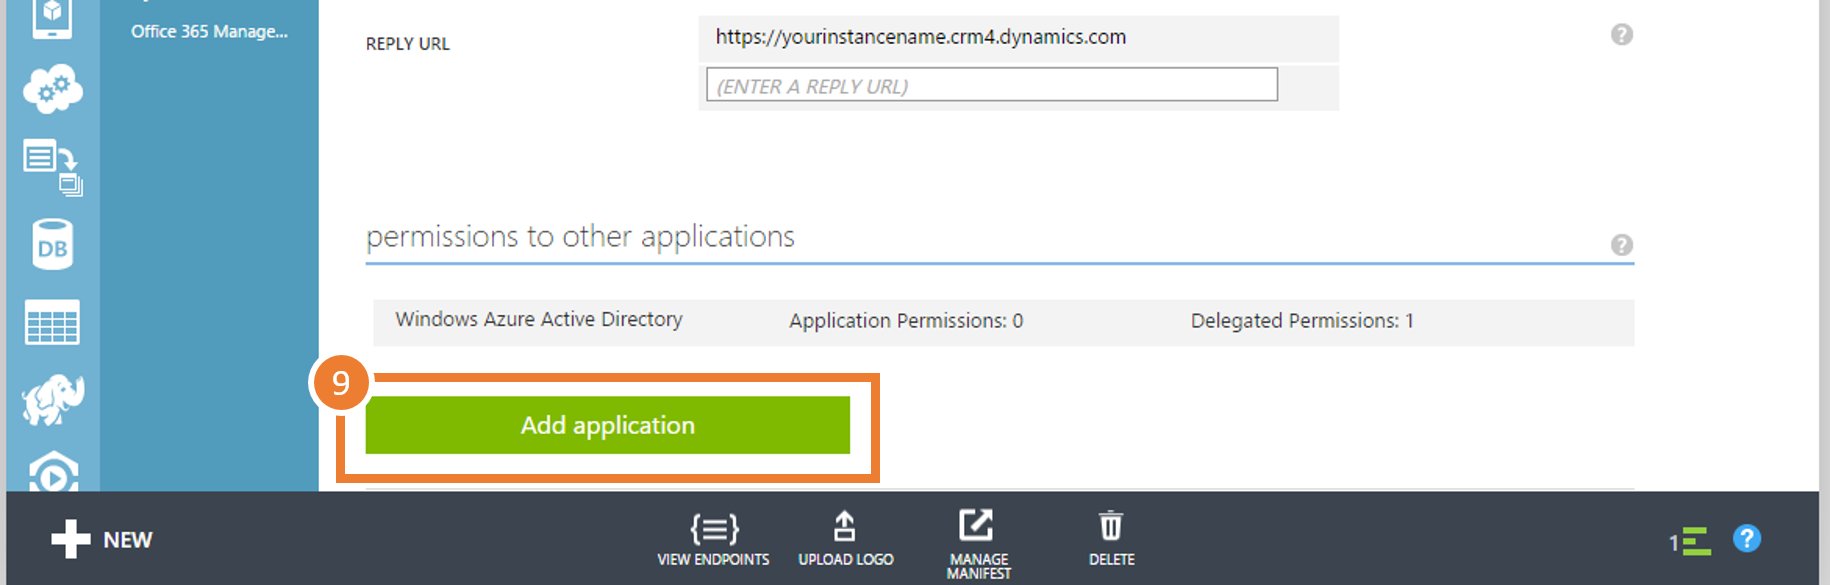
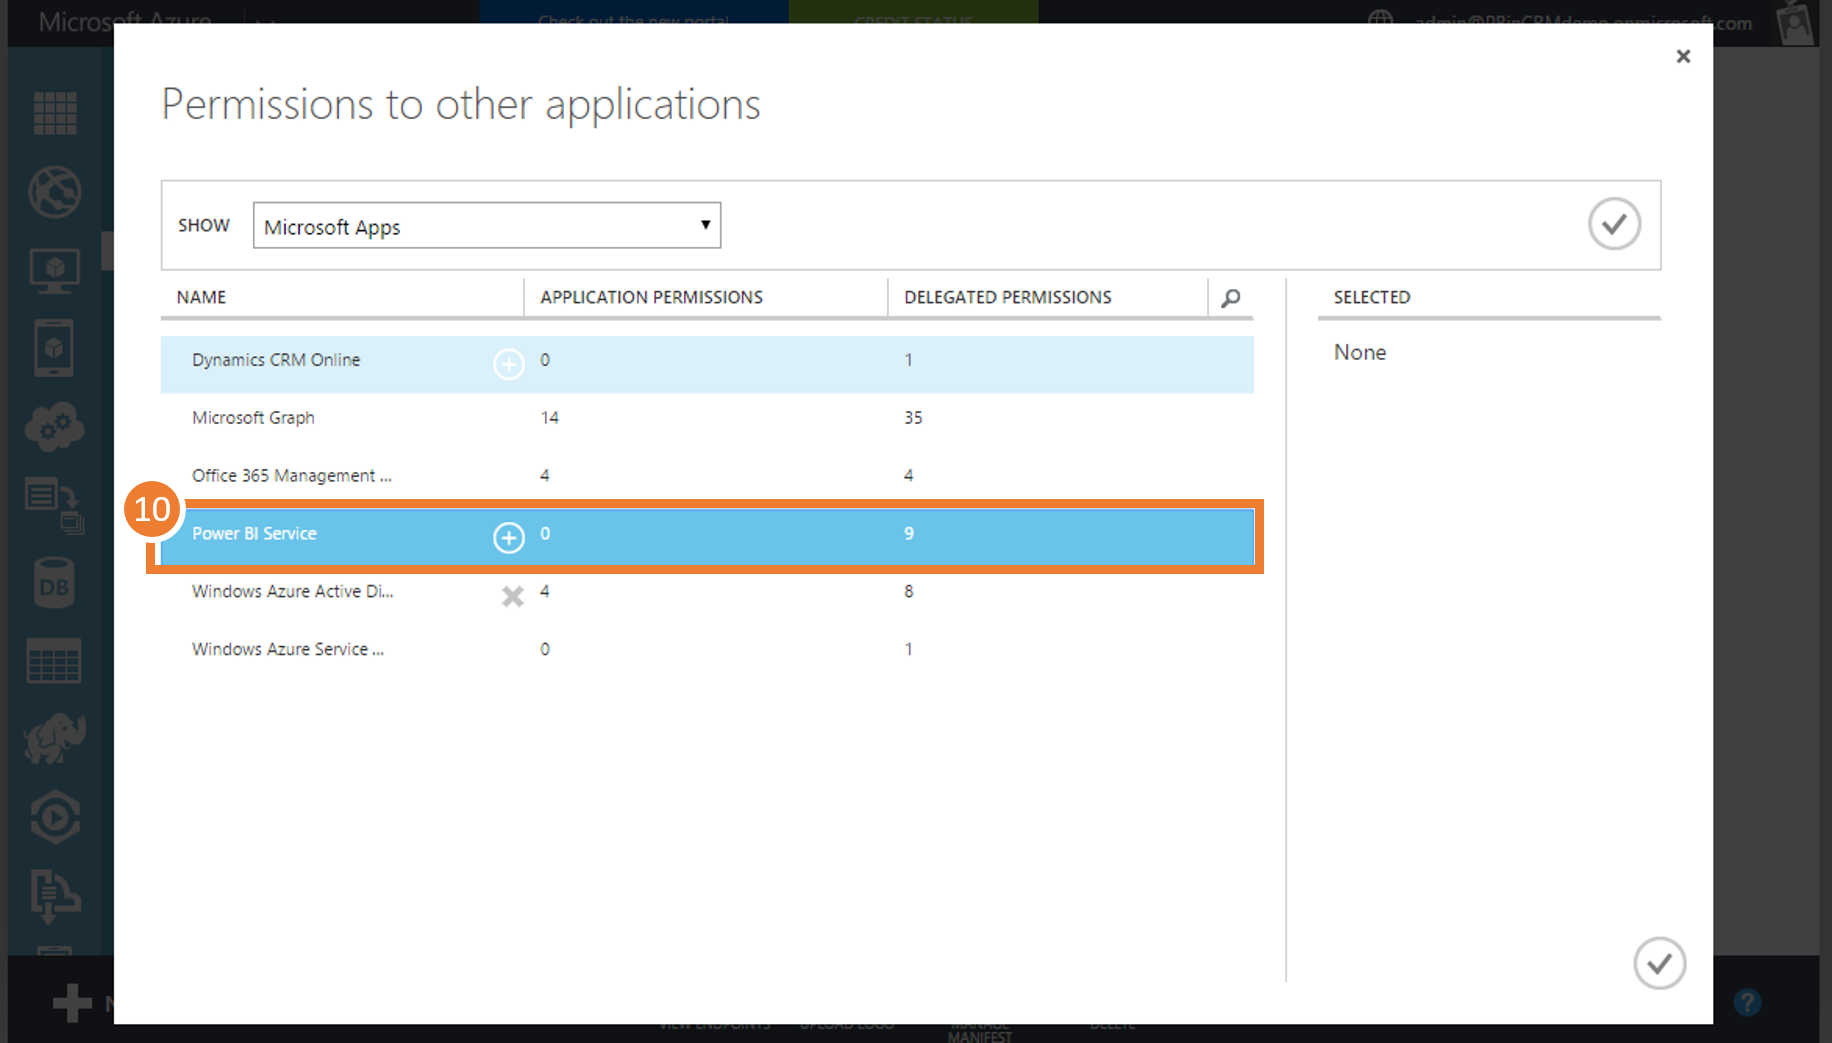
Next we need to give the application access to Power BI. Go to the configure tab and scroll down to the bottom of the page. Click “Add Application”.
-
Find “Power BI Service” and click the (+) it will turn to a green check mark. Finally click the gray check mark (lower right).
-
Give the app at least delegated permissions to view all reports and dashboards (recommend future proofing this by also adding view all groups).

-
Finally scroll up to the client id and copy it as you will need the id when installing the solution in Dynamics CRM.
-
Click save and then you are all done here.
Next step is to install and configure crm-powerbi-viewer in Dynamics CRM.